Strange days here at the farm. Strange days everywhere, really. And very, very strange days for our restaurant Timber & Salt, but that is for another post. For now, we want to accentuate the positive.
And if there is one good culinary “discovery” we have made over the past 8 weeks, it is that boneless chicken thighs might be the one of the most delicious (and foolproof) ingredients for family cooking. Now, we have always been fans of chicken thighs for fried chicken, both at home and the restaurant. But these days we make at least two dinners each week with chicken thighs and it just hasn’t “gotten old”. The boys, Carolyn and I actually look forward to trying new (and revisiting tested favorite) chicken thigh recipes. Go figure.
Part of the secret of the chicken thigh is that it is way more tender and flavorful than breast meat and is almost impossible to overcook . We cook dark meat to 180 degrees, as it gets more tender as the connective tissue dissolves at higher temps. That may seem counterintuitive, but trust us on this one. This also means you can use almost any cooking method with thighs and not worry about overcooking. Stovetop, stovetop-to-oven, poached and grilled- it doesn’t matter, all will work. Just find (or create) a recipe you like.
As for recipes, our family favorite is Pan Roasted Chicken with Harissa Chickpeas from Bon Appetit. Harissa is a North African chili and spice paste that adds great depth of flavor and a pleasant, but not burning, heat. You can buy Harissa as a powder or paste, we just suggest you taste it before you make the dish to adjust to your desired level of spice. Otherwise this is a 1-pot dish that looks, smells and tastes fantastic. Our boys simply crush this every time we make it.
A similar dish from the New York Times, Smoke-Roasted Chicken Thighs with Paprika, uses a spice blend, outdoor grill and a bit of smoke to take chicken thighs to the next level. (Adding the smoke element is worth the extra effort- and what else do you have to do?) The leftover chicken is great on salads the next day, but we rarely have leftovers. A good problem to have.
Prefer more Asian-themed dishes? We got you covered. Again, the New York Times has a Miso Chicken that is an incredibly tasty umami bomb with just 6 ingredients. (We suggest boneless thighs and cooking to 180 degrees, but otherwise it is a delightful recipe.) If you want to spend just a few more minutes, you can make Miso Chicken in Ginger, Leek and Scallion Broth. What you get is a delightfully warming dish in about 30-40 minutes.
And if you are really feeling lazy, simply adding your favorite seasoned salt, spice blend or just salt and pepper to chicken thighs will work in a pinch. We suggest seasoning the chicken, heating the oven to 400 and then browning the thighs with a bit of oil in a skillet and then finishing in the oven. It will take 20 minutes or so from start to finish, and like we said, the thighs are almost impossible to overcook. So if you want to put a few “non-cooks” in your house to work, chicken thigh recipes may be the way to go.
Finally, we hope you and yours are safe and healthy in challenging times. 
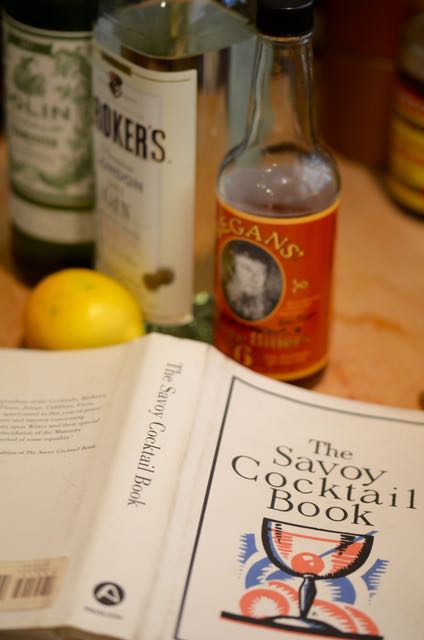
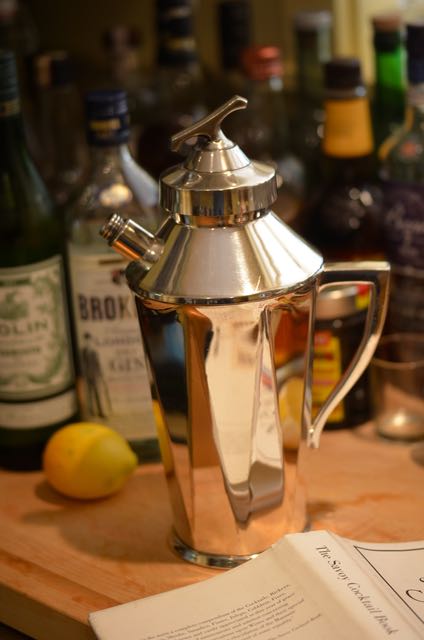
 This is blog #1 of what we hope will be a regular feature, sharing some of our most popular cocktail and food recipes from our restaurant,
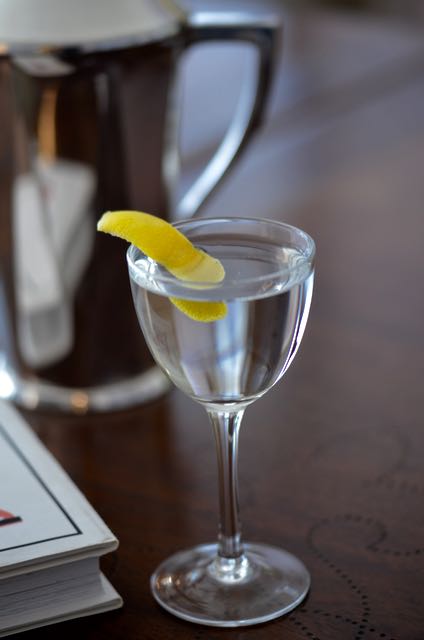
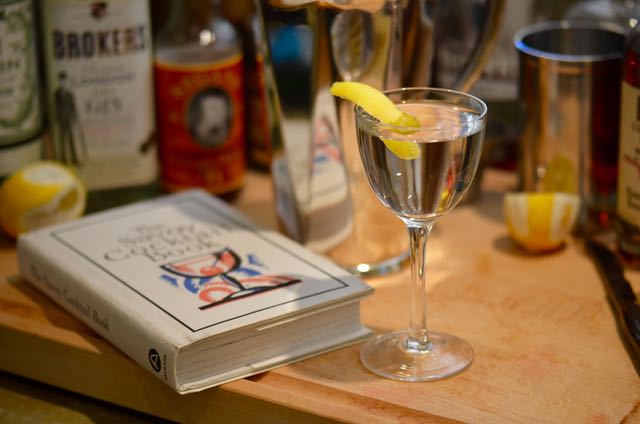
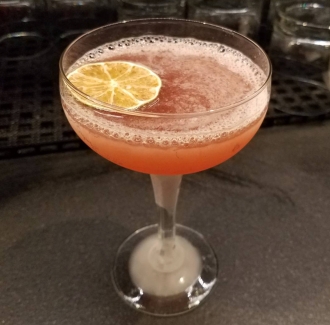
  So what is a “kina” or “quinquina”? Kinas are basically a type of aperitif or aromatized wine that features Chinchona bark, the basis of quinine. So if you imagine a vermouth or aperitif with bittersweet, fruity and herbal notes and finishing with a slightly medicinal or tonic-like taste, you would be close to a kina. We are fans of Tempus Fugit’s Kina L’aero D’or, but other kinas include Lillet Blanc and Cocchi Americano (both good and widely available).


 Otherwise, I could wax on about the ups and downs of owning a restaurant, but one of the first lessons I learned was to keep my mouth shut and my opinions to myself a bit more often (…yeah, it’s a work in progress). Regardless, we love the restaurant and are very happy with the food & drinks…while always pushing to be better.
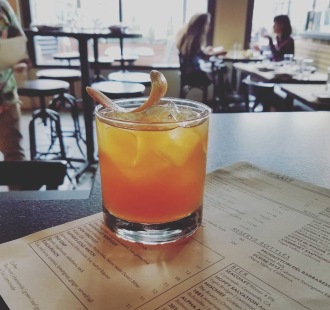
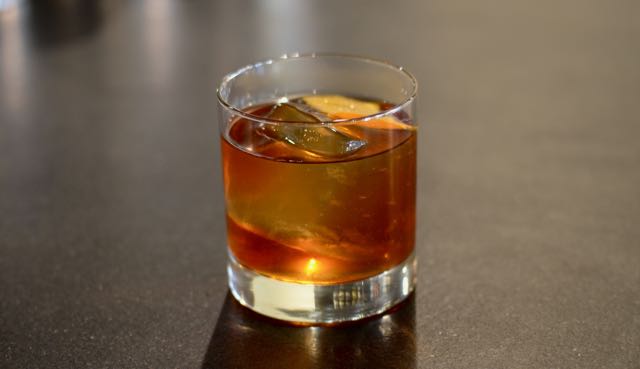
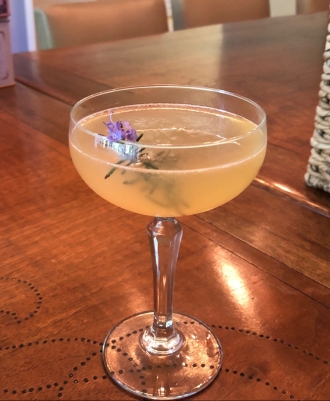
 Finally, we will just note that we hope all of you join us at Timber & Salt. The food and drinks have never been better and IMHO, we have the best cocktails in Silicon Valley (and perhaps beyond). Brian’s brunch cocktails are a particular treasure…they are totally worth a try. Here is one more….