
 Ah, home-cured bacon. The culinary gift that just keeps on giving. Once you start making your own bacon, the possibilities seem limitless. So much flavor, so many textures, so many ways to use it. You can use bacon as a main dish, an accent for salt and/or crunch, a sandwich ingredient, or just serve it for breakfast. And the fat adds flavor to anything you cook with. Good stuff.
 And good stuff becomes great stuff if you use the right pork. Most pork belly will work for home cured bacon, and it will be much better than store-bought, packaged bacon. But if you spend a little more time and money you can order a Berkshire (sometimes called Kurabota) or Duroc pork belly from an artisan farmer. Not only are these pigs more humanely treated, but they taste a whole lot better than “industrial” pigs. While there are a number of artisan breeds, we prefer the sweet, dark and meaty Berkshire for bacon and barbecue.
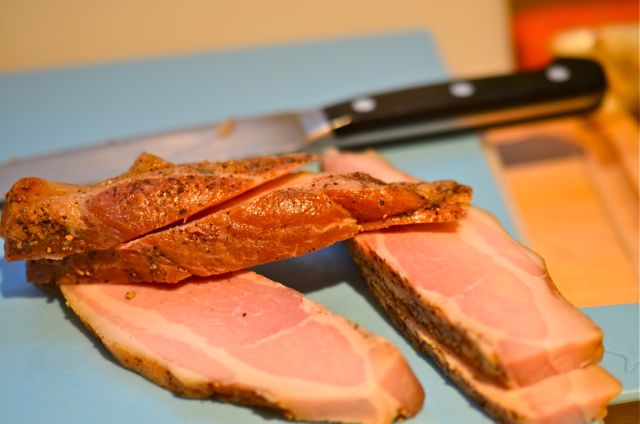
 Making bacon with Berkshire pork is no different from using regular pork, we just follow our standard bacon recipe. But because this pork is so sweet we prefer to very lightly smoke with applewood or simply finish in the oven. The pork has enough flavor to stand well on its own. Sometimes the best thing you can do as a cook is leave the ingredients alone.
 So what do we do with our Berkshire bacon? Actually, we sell some to friends. It helps cover costs and keeps us from eating too much. And we do serve bacon for breakfast on weekends. But usually we cook with bacon as an accent. And there are few better ways to use bacon than in fried rice. So simple, so easy, but soooo good.
For this dish we adapted a recipe from “Breakfast for Dinner” a fun cookbook that, not surprisingly, uses breakfast-related ingredients for dinner. While sometimes a real stretch (yes, fried rice has bacon and egg so there is some “breakfast” there…sorta), the recipes are fun and supply some good ideas. That’s enough for us.
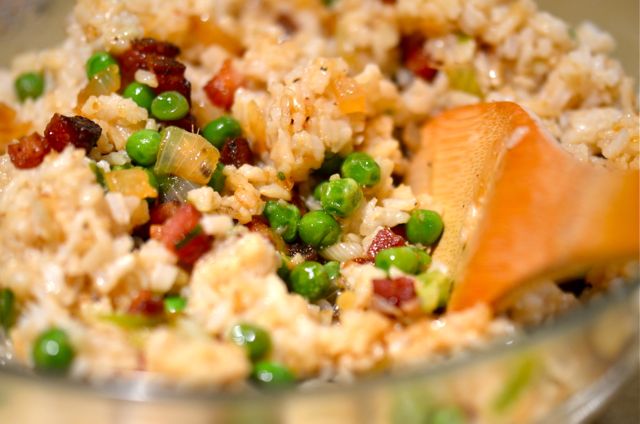
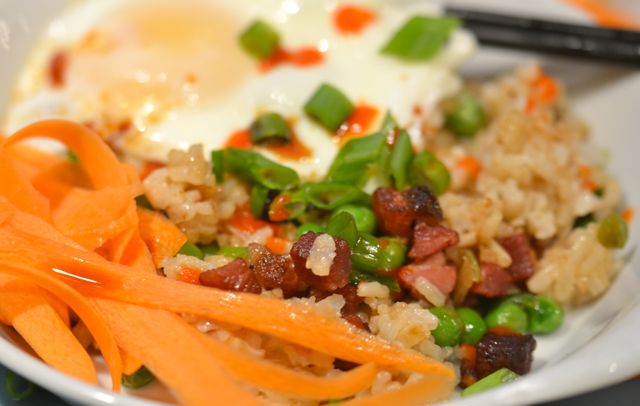
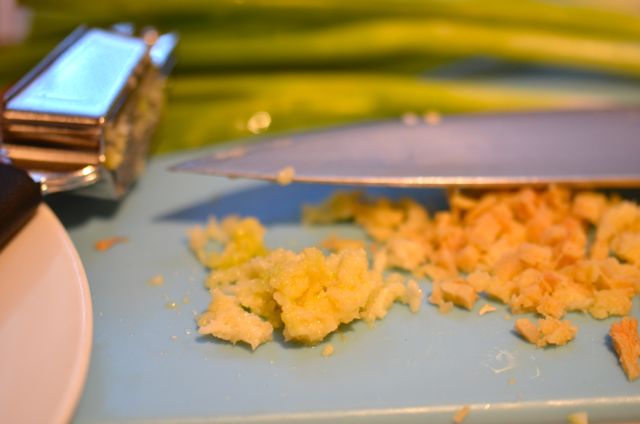
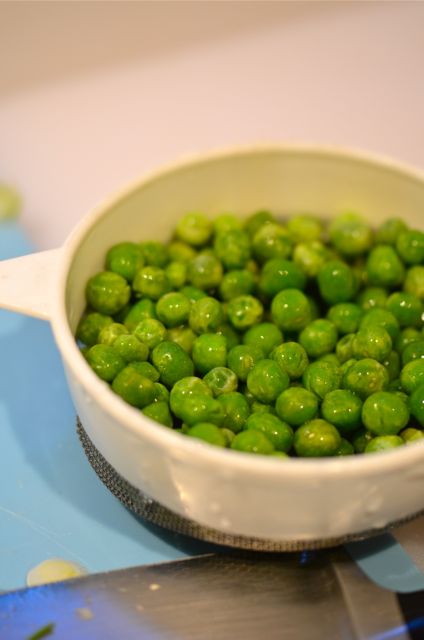
 The recipe combines fried brown rice with a mixture of bacon, onion, frozen peas, green onion, a little mirin (or water), garlic and ginger. You can top with a fried egg (our preference) or scramble the eggs and mix them in. Garnish with some carrot ribbons, green onion or sesame and then season with soy and Sriracha. Then you are in business…
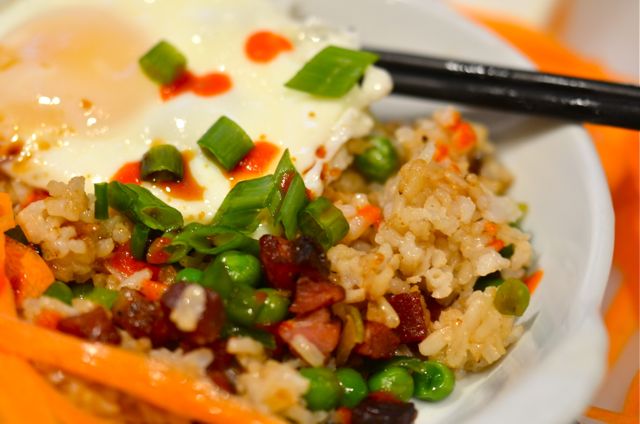 How does it taste? Soft and crunchy rice with nutty flavors, crisp, sweet and salty bacon, savory onion, garlic and ginger, sweet earthy peas and rich eggs. Hard to go wrong here. Just be sure to make your own bacon, or use the best artisan bacon you can find. You won’t be disappointed.
Berkshire Bacon Fried Rice:
(Adapted from “Breakfast for Dinner”)
Notes Before You Start:
- If you don’t cure your own bacon, look for slab bacon or artisan bacon that is meaty and lightly smoked with applewood. Hickory-smoked bacon will work here but the flavor will dominate the dish.
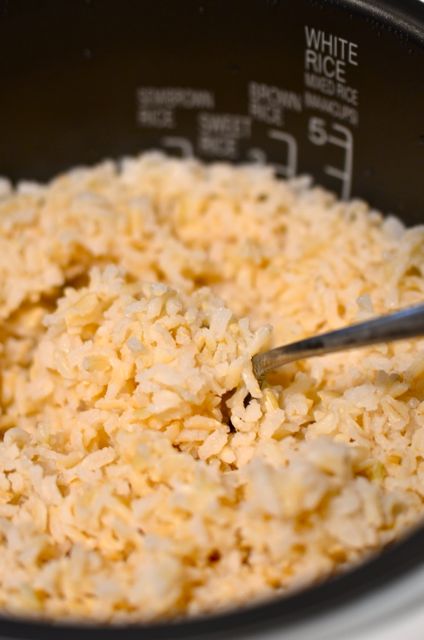
- We use left over brown jasmine rice in this dish, as the nutty flavors work well. But any long-grain rice (or really any leftover rice) will work. You need day old rice for this dish- as it will not turn mushy when cooked.
What You Get: Tasty, easy fried rice at home. What else do you need?
What You Need: No special equipment required, and you may have the ingredients in your fridge right now.
How Long? If you already have the rice cooked, about 20 minutes. Anytime dish.
Ingredients:
(Serves 4-6)
- 2-3 cups day-old cooked brown jasmine rice (or leftover rice)
- 1/2 pound bacon, diced or cut into lardons
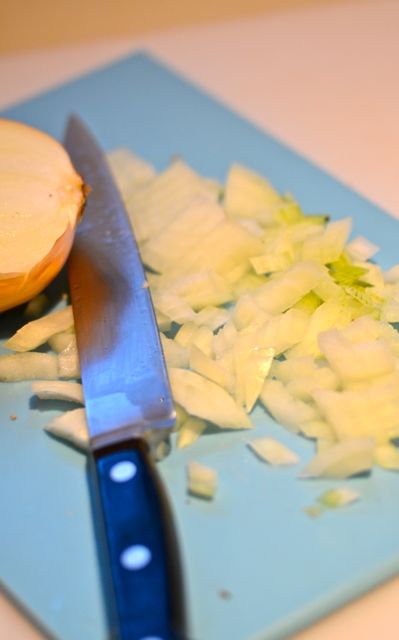
- 1/2 large yellow onion, diced
- 4 green onions, thinly sliced, plus extra for garnish
- 2 cloves garlic, minced
- 1 tablespoon fresh ginger, minced
- 1 cup frozen peas
- 3 tablespoons mirin (or water)
- 4 large eggs
- 1 medium carrot, sliced into ribbons
- Salt and freshly ground pepper
- Soy sauce, to taste
- Sriracha, or hot sauce, to taste
Assemble:
- Place a large nonstick skillet or wok over medium-high heat. Add the bacon and cook until slightly crisp and the fat renders. Drain all but a tablespoon of the fat from the pan, and reserve. Add the onions and cook until soft, 2-3 minutes. Then add the peas, green onion, and ginger. Cook for 2-3 minutes than add the garlic and cook for another 30 seconds, stirring frequently (don’t burn the garlic). Add the mirin, stir and cook for another 1-2 minutes. Remove from the heat and our the mixture into a large bowl.
- Place the pan back on the stove over medium-high heat and add the reserved bacon fat. You should have 2-3 tablespoons of fat (add oil if needed). Spread the rice in the pan and cook, stirring occasionally, until brown crispy spots form, 6-8 minutes. When done, add the rice to the bacon mixture and stir to combine.
- In another pan, over medium-low heat, cook the eggs until the whites set but the yolks are still runny (or to your preference).
- To serve, place the rice mixture in a bowl. Add an egg to the top and garnish with the carrot ribbons. Season with soy sauce and/or Sriracha. Serve.
Related articles
- Fried Rice Recipe (Chinese) (friedricerecipes1.wordpress.com)
- I heart bacon (sustenanceandflavor.wordpress.com)
- Lemon thyme flavoured Chilli fried rice…. (kelipaan.com)
- How About Breakfast For Dinner? (eatinginthestreetsofbrooklyn.wordpress.com)
- Five-Minute Bacon Fried Eggs with Capers & Hot Sauce (365daysofbacon.wordpress.com)
- Apple, Bacon. Spinach stuffed Pork-Loin (wwjme.com)
- Deluxe Chinese Fried Rice (cravingthis.wordpress.com)


