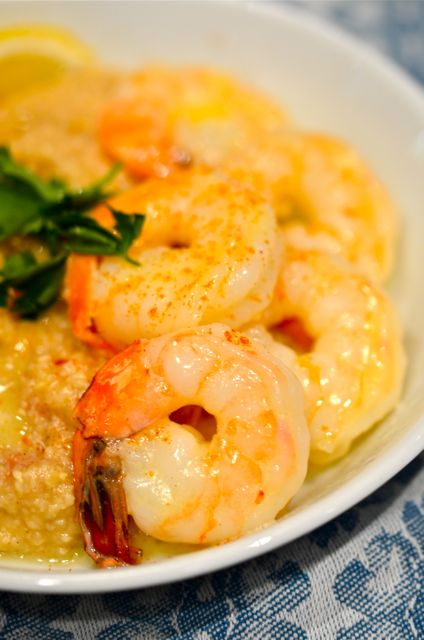
Butter Poached Shrimp With Grits.
“Umm…ok” is what I heard from Carolyn when I told her we were having shrimp and grits for dinner. The boys just looked confused. Then I said “think of it as prawns and polenta with butter sauce” and they all looked relieved. It’s funny, because Carolyn knows that grits and polenta are basically the same thing, but there is something about the word “grits” that (at least for many outside the south) has some negative culinary vibes attached.

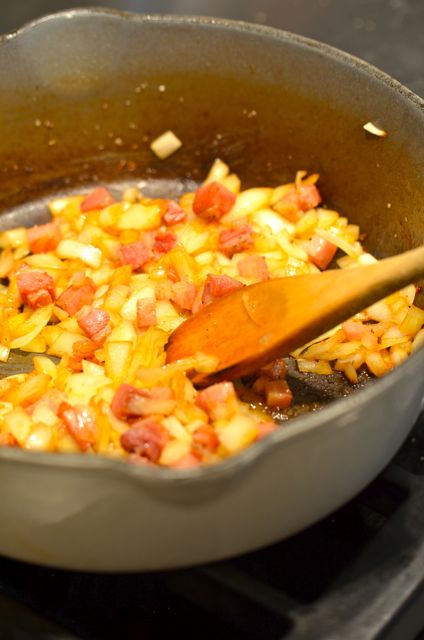
 And that’s too bad, because this is a killer dish that uses simple, readily available ingredients and is easy to make. Carolyn and the kids loved it. And that shouldn’t have been a surprise. We all enjoy polenta (cornmeal mush), so the grits were just a slightly more rustic version of the Italian classic. Basically the grits were polenta, but with bacon, onion and butter added instead of the cheese and pancetta we might include in polenta. Either way, pretty hard to go wrong here. Just remember to stir (the only real work with grits or polenta is to stir often to keep it from burning).

 We adapted the recipe from Michael Ruhlman’s cookbook “Ruhlman’s Twenty“. We are fans of this cookbook, it has 20 different ingredients, tools and techniques for the home cook and then provides recipes to match. Some of it is basic stuff like “salt” “roast” and “butter”, but it is always good to remember fundamentals like seasoning and cooking with butter. So when we want to expand or refine our cooking, we often open “Ruhlman’s Twenty“. In this case we were looking for different ways to cook shrimp and Ruhlman had butter-poached shrimp with grits in the “butter” section. Good stuff.

 The key technique here is to poach the shrimp in a butter and water emulsion over low heat. This technique is easy and gives you very moist, flavorful shrimp. Even at low heat shrimp still cook quickly, so it only takes 4-5 minutes. This is also a forgiving technique, so if you go a little over the cooking time the shrimp will still be good (unlike high-heat cooking methods). You also get the bonus of a very flavorful butter sauce to enhance the grits and drizzle over the shrimp. Add a little seasoning and some lemon and you are in business.

 So regardless of what we call it, we will make this dish a few more times this summer. So, once more, we say “thanks Ruhlman” for a successful recipe, we expect to say it again soon…
Butter-Poached Shrimp With Grits:
(Adapted from Michael Ruhlman)
Notes Before You Start:
- You can use white or yellow grits, just look for high-quality stoneground grits.
- The recipe suggests you make the grits with water and then stock and/or milk. We like chicken stock, but feel free to experiment.
What You Get: An excellent shrimp dish and some very tasty grits. A good introduction to a southern classic.
What You Need: No special equipment required.
How Long? 45-60 minutes, most of it active. This is an easy dish but there is plenty of work to do. Anytime dish if you find cooking therapeutic after a long day. Otherwise, best made on weekends.
Ingredients:
(Serves 4 as a main course)
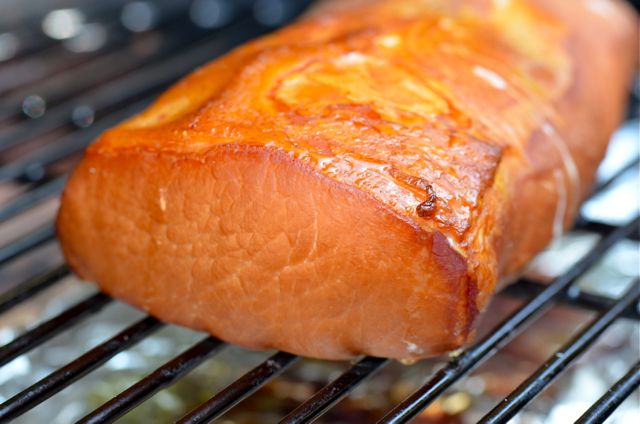
- 4 oz. bacon, diced
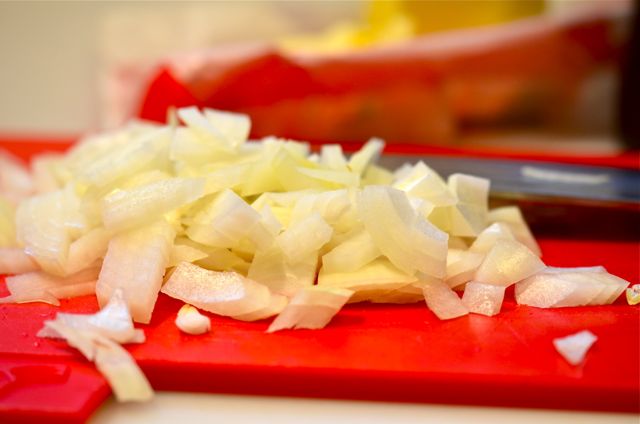
- 1 medium onion, diced
- Kosher salt
- 1 1/4 cups stoneground grits
- 2 cups chicken stock, vegetable stock or milk (or water)
- 2 cups water
- Freshly ground black pepper
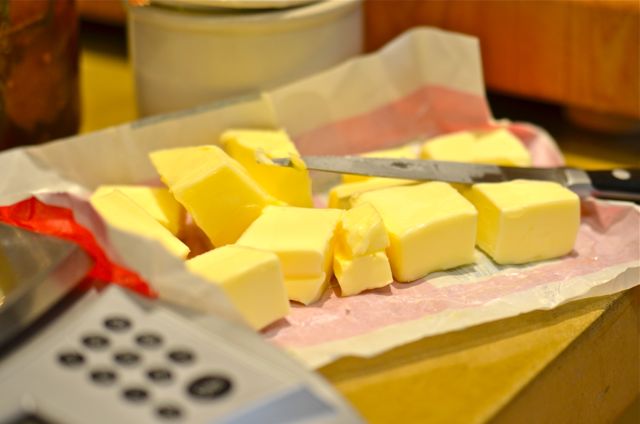
- 1 cup butter, cut into 12 chunks
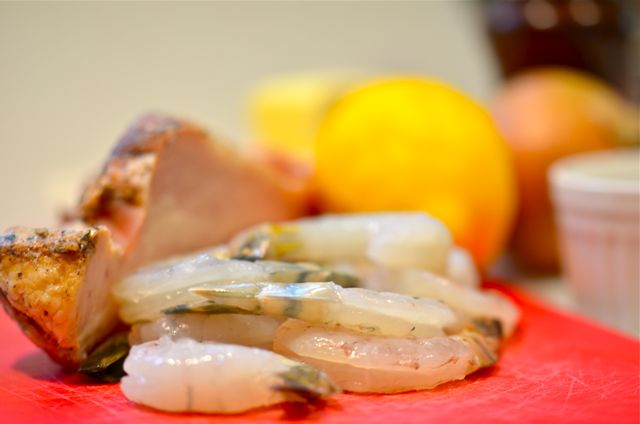
- 1 pound shrimp, peeled and deveined
- Lemon wedges
- Smoked paprika, for garnish (optional)
- Italian parsley, for garnish


