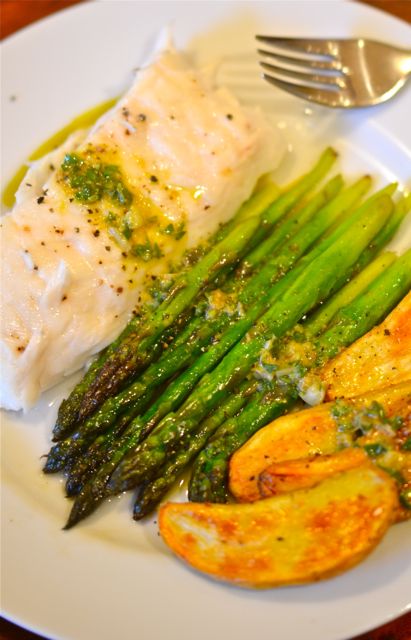
Sous-vide king salmon with tarragon-chive butter.
After an enforced absence of a few years, king salmon fishing is back along the California coast. Regardless of the sometimes difficult politics and economics of fishery management, it is always encouraging to see a natural fishery recover when it gets some time. And one thing we see here on the farm (and all over the world) is that nature often rewards patience and comes roaring back, if given the chance. And now our local community is reaping the benefits of its patience and we get to eat our local king salmon straight from Monterey or Half Moon Bays. And there are few fish as tasty, or pretty, as fresh wild king salmon.
Wild king salmon has a beautiful color and deep rich flavor that, at least to local tastes, surpasses most wild and all farmed salmon. The wild salmon’s high fat/oil content and varied diet makes for big flavor and meaty texture, yet is still healthy (depending on how much butter you add to the dish ;-). The king salmon also lends itself to many different styles of cooking. You can serve king salmon as sushi or crudo, poach, roast, bake or grill it and even the crispy skin is a tasty treat. Great stuff, but with one caveat, the fresh wild salmon does not come cheap. It is best to make the most of the fish, so in this case we decided to cook our king salmon using our sous-vide cooker. (But there is a good oven-based method, so please read-on).

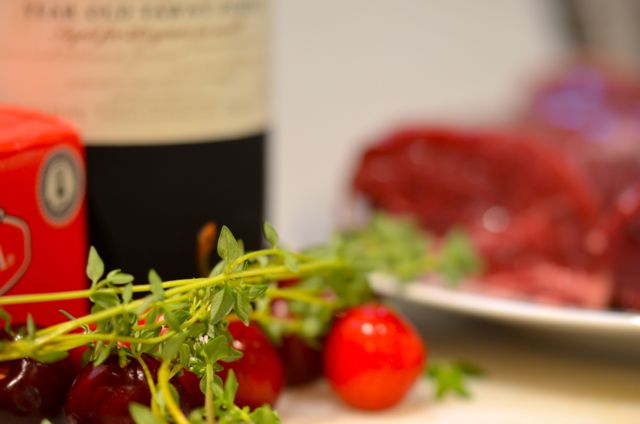
Simple ingredients, but big flavor.
As we mentioned in an earlier post, sous-vide cooking involves sealing fish, meat or veggies in a vacuum bag and cooking in a temperature-controlled water bath. It is a very popular cooking method in high-end restaurants, but you can buy sous-vide cookers and vacuum sealers for the home. Our inspiration for sous-vide cooking came from Stefan’s Gourmet Blog– and he has a great introduction and many good sous-vide recipes here. We cook sous-vide regularly with both meat and fish, but particularly like cooking fish in this way. The temperature control and doneness of the fish are quite exact and you can “build” a sauce in the bag while you cook the fish.
As for the recipe itself, we simply adapted our basic oven-baked fish recipe to sous-vide cooking. Our approach is to season the fish filets, layer on a generous dollop of herbs and butter per filet and top with a slice of lemon. As the fish cooks, it bastes in the lemon/butter/herb mixture, and that mixture becomes the basis for a quick sauce. In the oven, we cook the prepared filets in a greased baking dish with a splash of wine at 425 degrees for about 10-12 minutes depending on the thickness of the filets and desired doneness. In the case of sous-vide, we simply seal the prepared filets in their bags and cook in the water bath for 30 minutes at our desired temperature. (Note: One drawback of sous-vide cooking is difficulty sealing liquids into the vacuum bag along with the fish. Using “solid” ingredients like cold butter, lemon and herbs solves this issue.)

Simply season the filets then add the herbs and butter and cover with lemon slices.

Cook sous-vide or in the oven. These filetes are vacuum-sealed for sous-vide cooking.
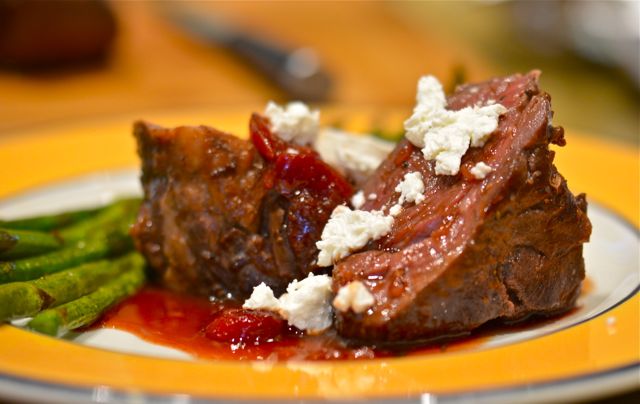
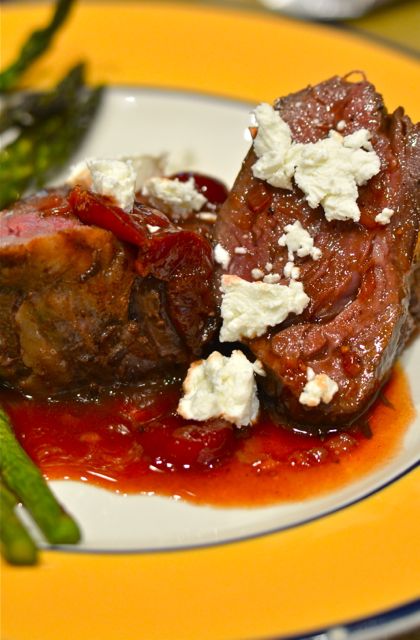
While this is a simple dish to prepare with either cooking method, you get a lot of big flavors. The richness of the salmon and butter is matched by lemon notes and bright, vegetal herbs. If you cook the salmon rare to medium-rare the texture will be soft and juicy, if you cook to medium the texture will be flaky but still rich from the high fat content of the salmon. And here is where personal judgement comes into play. Many cooks will serve salmon rare at 109 or 110 degrees, medium rare in the mid-120 degree range and medium at 130 degrees. Tastes vary and we prefer rare to medium rare fish, but to be fully “cooked” many references suggest cooking fish to at least 130 degrees and even up to 145 degrees. Again, use your judgement based on tastes and the freshness of your fish. And a digital thermometer is a big help if cooking in the oven.

Some of the best California has to offer…
As the local king salmon season is short, we enjoyed this dish a few times in the last week or so. We can’t get enough of the salmon, and our kids love it. We take every chance to make sure our kids enjoy eating good fresh fish (think of it as selling healthy eating habits). And the king salmon is more than good, it’s a real treat. Sometimes patience truly is rewarded. Let’s hope we have another good season next year.
King Salmon With Tarragon-Chive Butter:
Notes Before You Start:
- If you don’t have California king salmon, a trip to California is in order…;-) Otherwise substitute your fresh local salmon or other firm fish filets. This basic recipe works for most fish.
- Salmon usually has small pin-bones you can remove with tweezers or pliers. Remove them before cooking or ask your fishmonger to do it for you.
Continue reading →
 We don’t like to throw around terms like “best” or “perfect” much here at the farm. Firstly, when food is concerned, things can get very subjective. Secondly, most dishes can always be improved with the right recipe, special tools or techniques. But once in a while, we find a combination of ingredient, recipe, tools and technique that yields a seemingly perfect dish every time. And that is what we can say about this asparagus. It is perfect every time (at least when asparagus is in season).
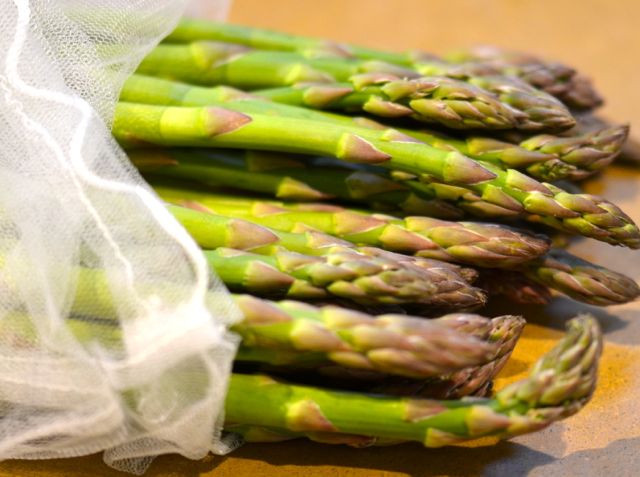 So what’s the trick? Here is the cool thing, there is no trick. Nope, there is just a process. It takes a little more work and a few steps, but when the spring asparagus is so good, isn’t it worth some extra time? We think so.
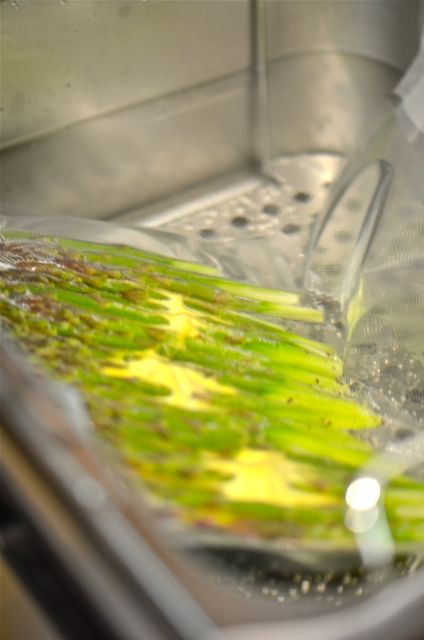
 The other cool thing here is that while you can go very high-tech and use a sous-vide cooker (we do), you can also hack a sous-vide or just steam the asparagus and it will still work. The key is in the other steps.
 So here are the steps: break off the woody ends of the asparagus, peel the last inch or so of the stalk, cook the asparagus at about 190 degrees for 4-5 minutes (depending on thickness), immediately stop the cooking with an ice bath or running under very cold water, dry the asparagus and then sear for 30-60 seconds in a rocket hot pan. Season and serve with butter or a nice salsa verde. Perfect.
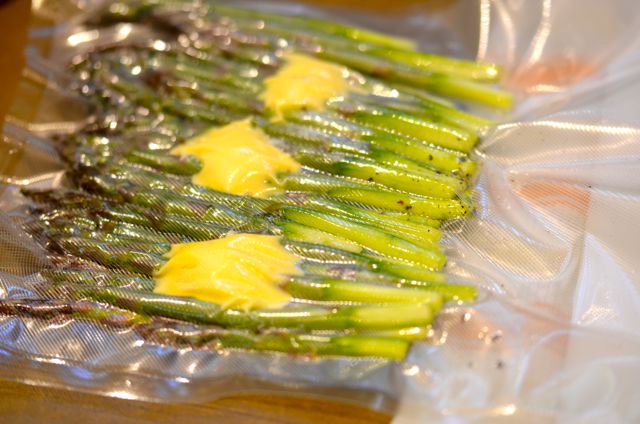
 The most important step here is to stop the first cook in the ice bath and then finish the asparagus in a hot pan (or even hot grill). Most other methods either cook asparagus too long (and it keeps cooking), or with uneven heat. You get mushy or tough asparagus (sometimes both at once). And just steaming the asparagus gets you close, but you get none of the sweet caramelized flavors of high heat cooking. By using a combined method you get the best of both worlds, and the asparagus stays green and crisp.