
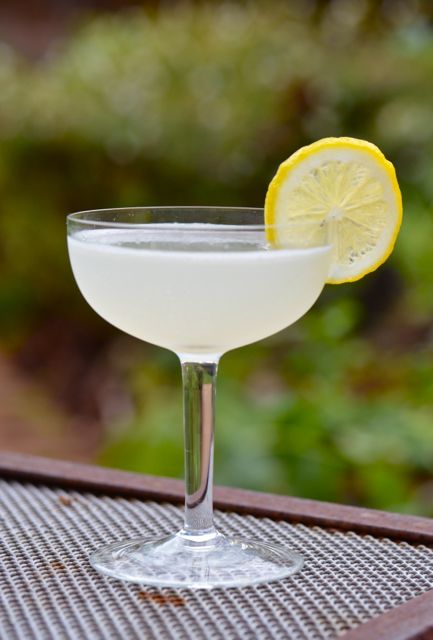
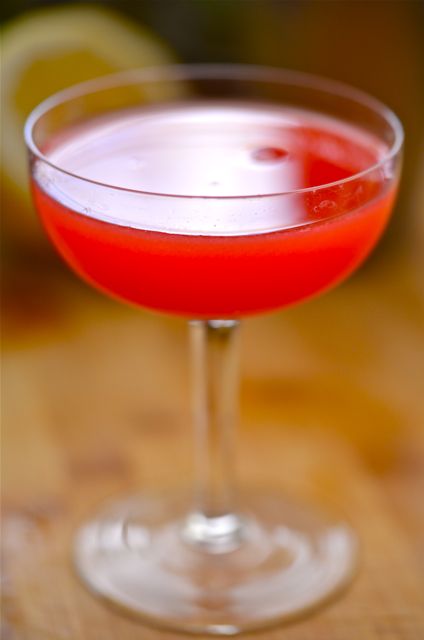
The Honeymoon Cocktail.
Fall is here and it is time to get back to our weekly cocktails. And when we think autumn cocktails, we tend to look towards apples and Applejack, America’s apple brandy. We are big fans of Laird’s Bonded Applejack, with its dry apple flavor and strong (100 proof), spirituous core. Landing somewhere between the lighter spirits (gin, tequila) and darker spirits (bourbon, rye), Applejack is a natural for cocktails, as you can build a light, bright cocktail, or a dark, heavy drink, simply by playing with a few ingredients.
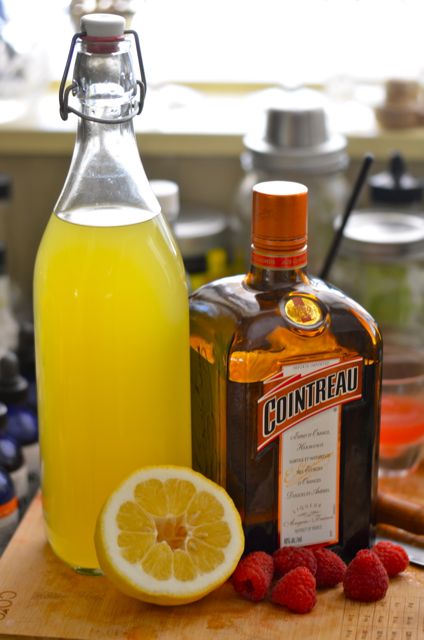
 For a lighter Applejack drink we really enjoy the Honeymoon cocktail. A simple combination of Applejack (or Calvados, that French stuff), Cointreau, Benedictine and lemon juice. At first you might think this is a sweet drink, but with 2 ounces of Applejack and a light hand with the other ingredients, you get a strong boozy core accented by citrus and then spice from the Benedictine. There is more here than you would expect, and it is certainly better than your average “sour”.

 Originally a pre-prohibition cocktail, the Honeymoon has been discovered, forgotten and rediscovered a few different times. And cocktail writers from Jim Meehan to Ted Haigh to Fred Yarm all sing its praises for a reason, it is a delightful sip. And certainly a pleasant intro to Applejack and a good reason to get a bottle. Oh, and it’s inexpensive, too….
 Along with being a good sip, the Honeymoon is a fun drink to play with. And one of our experiments gave us our next drink, the Annulment. One of our creations, the Annulment keeps the basics of the Honeymoon, but adds to the Benedictine’s slight herbal, bitter and spice notes through the use of Amaro and bitters. We basically doubled down on the heavier flavors.

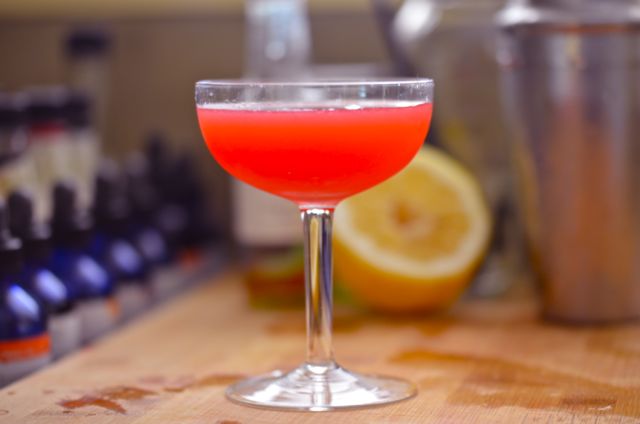
The Annulment Cocktail.
For the Annulment, we add a splash of Averna, an amaro known for sweet, herbal, bitter and spice flavors, and both Angostura and Tiki bitters for depth and added spice. What you get is an entirely different drink. Where the Honeymoon is light and bright, The Annulment is darker and spicier, with a clear bitter edge that reminds us of the tannic edge of apple skins. If you like spiced apple cider, you will enjoy the Annulment. As it is we enjoy both the Honeymoon and the Annulment to follow…
The Honeymoon Cocktail:
Ingredients:
- 2 oz. Applejack (Laird’s Bonded) or Calvados
- 1/2 oz. fresh lemon juice
- 1/2 oz. Cointreau (or triple-sec)
- 1/2 oz. Benedictine
- Lemon twist, for garnish (optional, we omit)
Assemble:
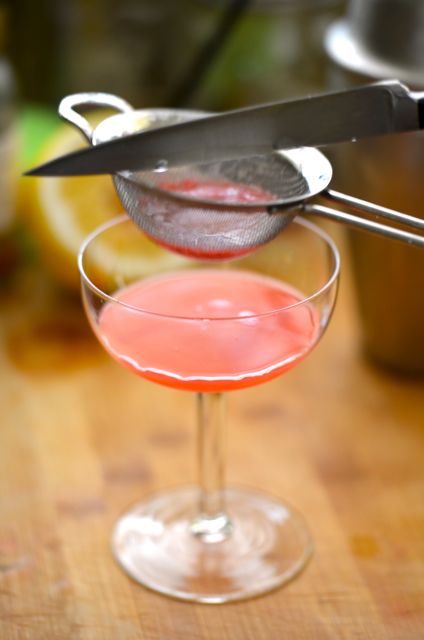
- Combine all the liquid ingredients in a cocktail shaker with ice. Shake until well-chilled and strain into a chilled cocktail glass or coupé. Garnish with lemon twist, if you like. Serve.
—–
The Annulment Cocktail:
Ingredients:
- 2 oz. Applejack (Laird’s Bonded) or Calvados
- 1/2 oz. fresh lemon juice
- 1/3 oz. Averna
- 1/3 oz. Cointreau (or triple-sec)
- 1/3 oz. Benedictine
- 2 dashes Angostura bitters
- 2 dashes Bittermens Tiki bitters (or sub more Angostura)
Assemble:
- Combine all the liquid ingredients in a cocktail shaker with ice. Shake until well-chilled and strain into a chilled cocktail glass or coupé. Serve.
Related articles
- Benedictine Cocktail Competition at Epernay 2013 (phatcupcake.com)
- Brandy Cocktails That You Should Try (themomreviews.com)
- The Scotch Cocktail (thedrinkdoctor.com)
- Seelbach Cocktail (swizzzlestick.wordpress.com)
- Mullen Bartending Cocktail League Launches in Northern Quarter (phatcupcake.com)
- The Original (highdefinitionfantasy.wordpress.com)


