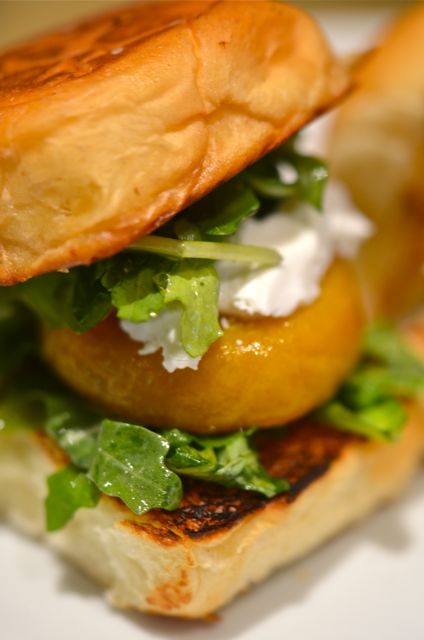
Golden Beet Sliders.
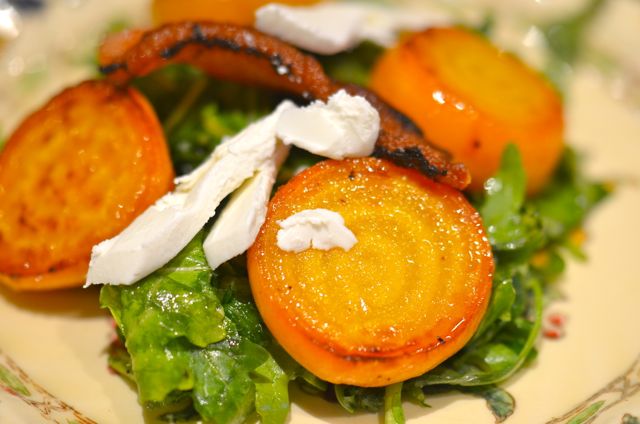
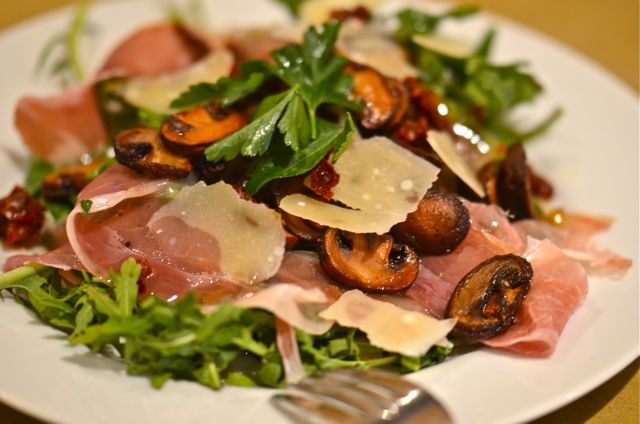
Or as a simple salad. If you don’t want the bread.
Best to get this out upfront. This recipe is inspired by some beet sliders we saw on a rerun of Diners, Drive-ins and Dives. Yes, we love our cookbooks and yes most of our inspiration for cooking comes from the garden (and other blogs). But we still like a good burger joint or seaside clam shack, and we do occasionally indulge and watch Guy Fieri do his thing. And in this case, he visited a place called Gatsby’s in Sacramento and they featured beet sliders. We do love beets and sliders, so at some point we had to make this. And we just got some beautiful baby golden beets at the farmers market, so Carolyn made the call. Golden beet sliders for dinner.
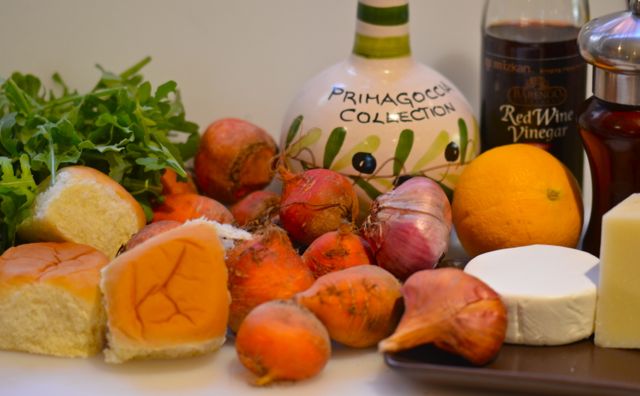
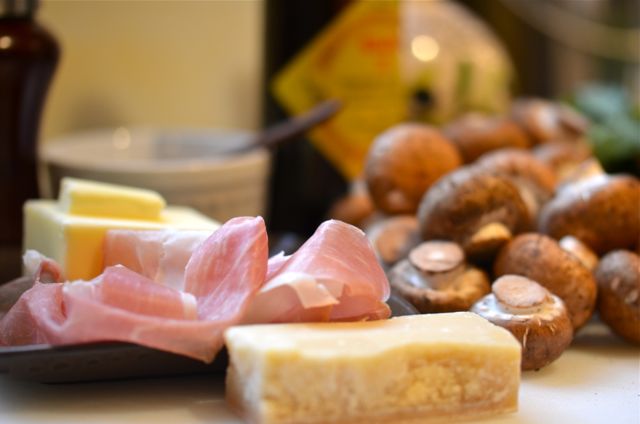
 While we were inspired by the Gatsby’s dish, we changed the recipe substantially. We use golden and not red beets, roast rather than boil the beets and use an orange vinaigrette for the sauce instead of green goddess dressing. We also add goat cheese for tang (and some bacon and pecorino as an extra option, yum). And, of course, we use King Hawaiian rolls for the bread, simply because everyone likes them. But while we changed a lot of the dish, the fundamental idea stays the same: sweet beets are a very good substitute for beef in a burger. These sliders are good, really good. Not just a good “vegetarian dish”, but a “good dish”, period.
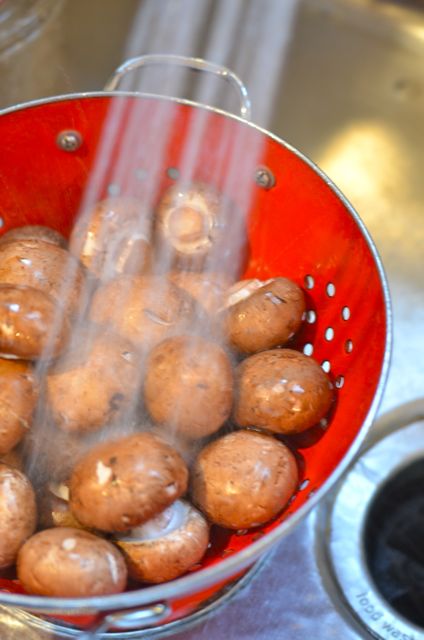
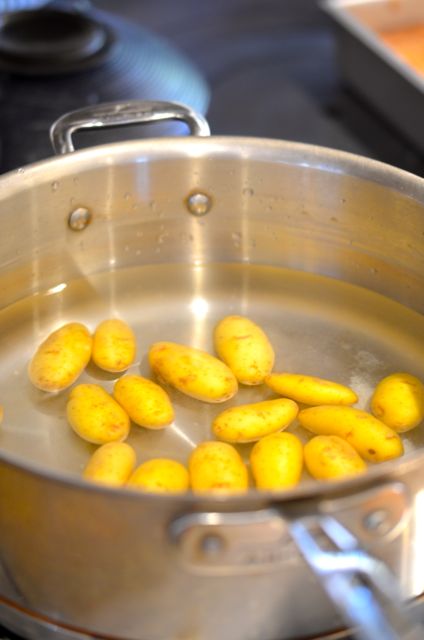
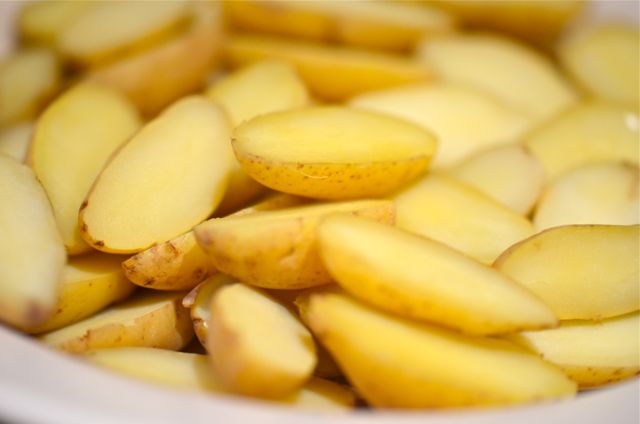
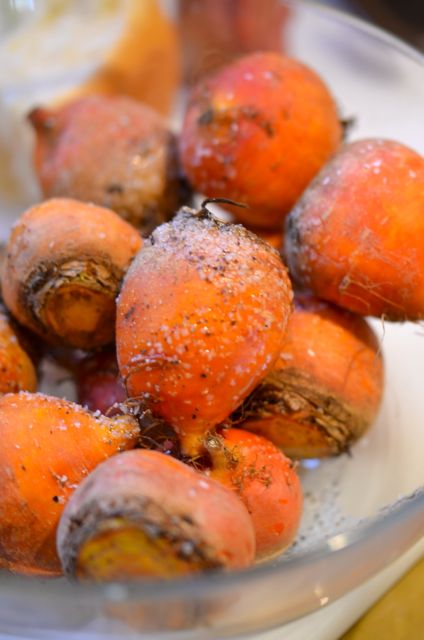
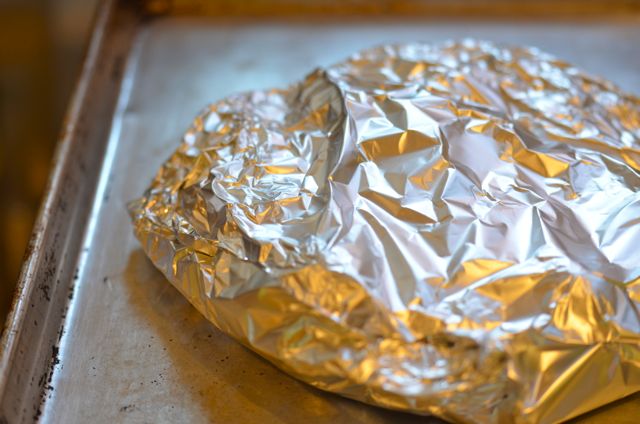
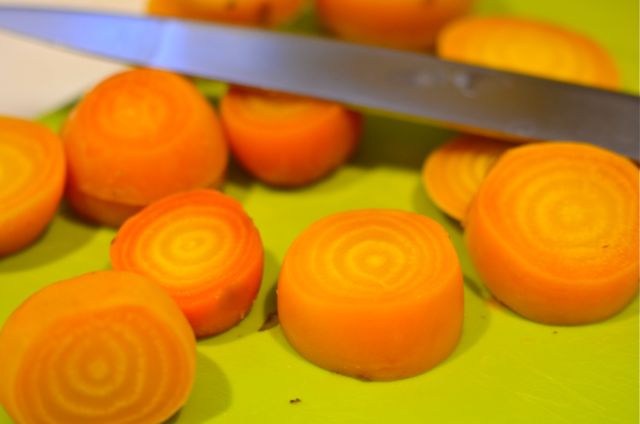
 The only downside of this dish is that it takes time to cook beets. There is no way around it (even if you microwave them you are looking at 25-30 minutes). Our only suggestion is that when you roast beets, roast a lot of them and put them in salads over the next 2-3 days. Otherwise, just roast the beets for 60 to 90 minutes, depending on their size. Wrapping in foil will speed things up a bit and makes for easier cleanup. When you can easily pierce the beets with a knife and the skins peel off easily, they are done.
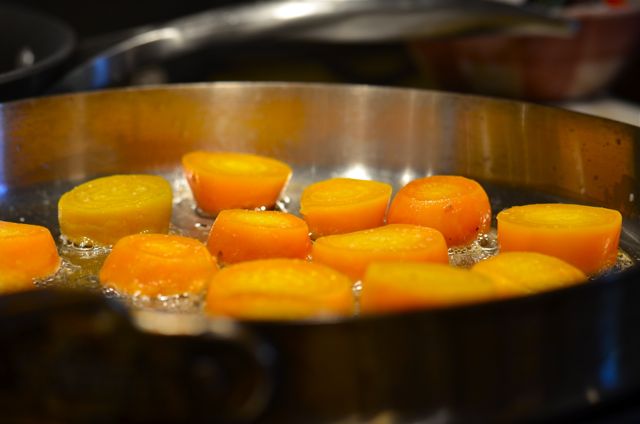
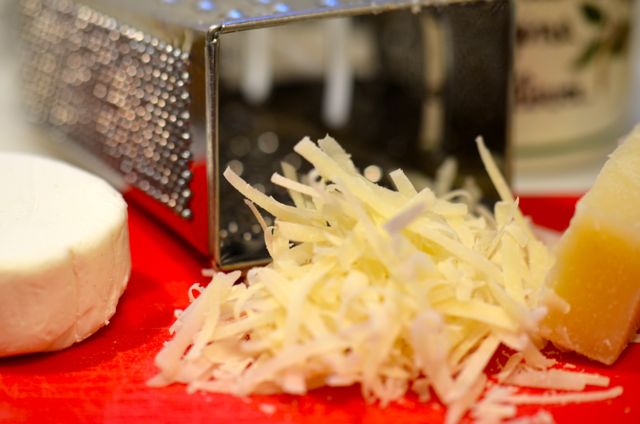
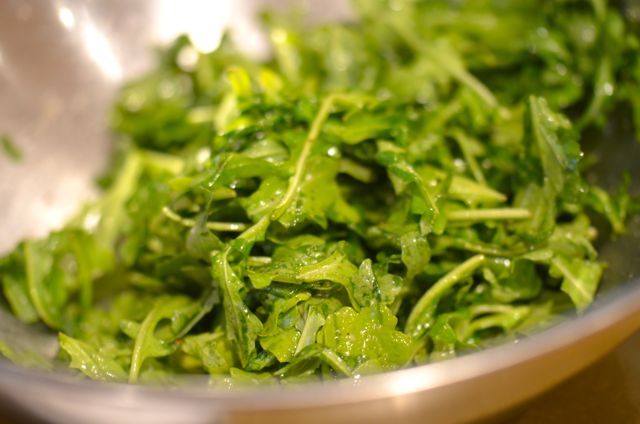
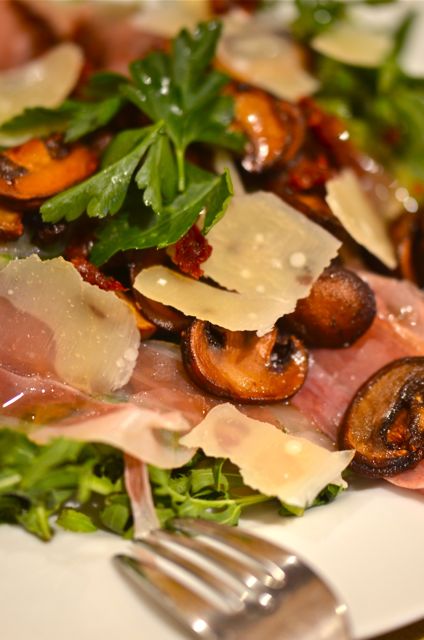
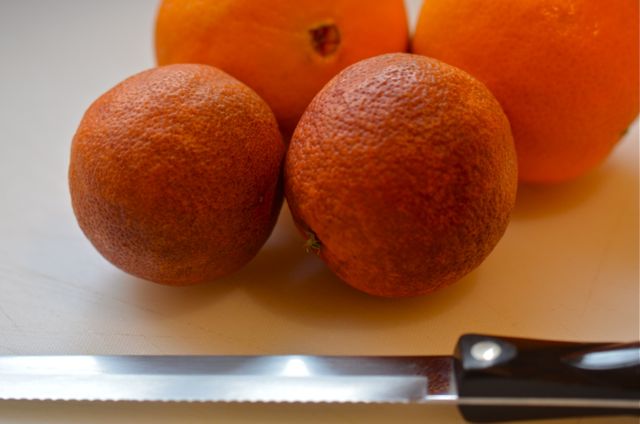
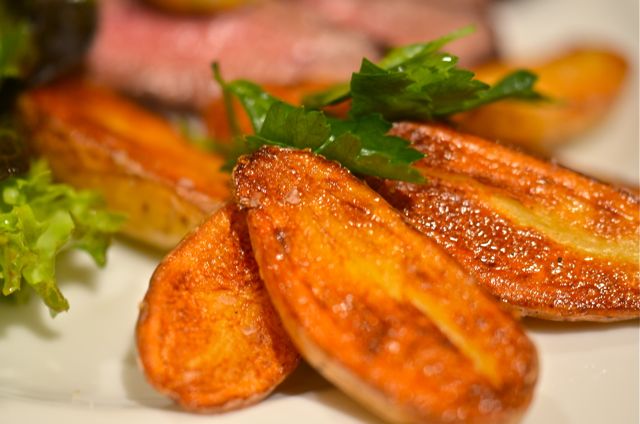
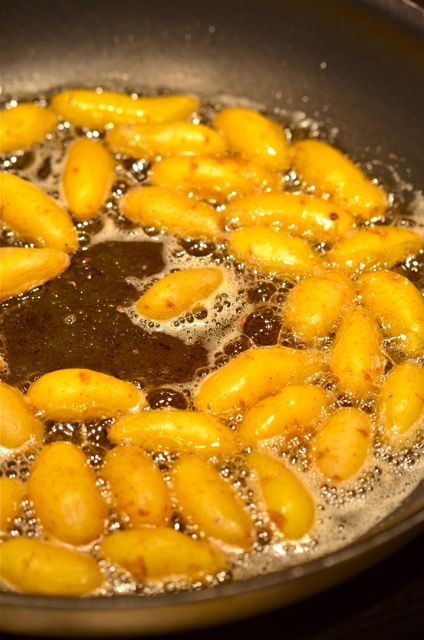
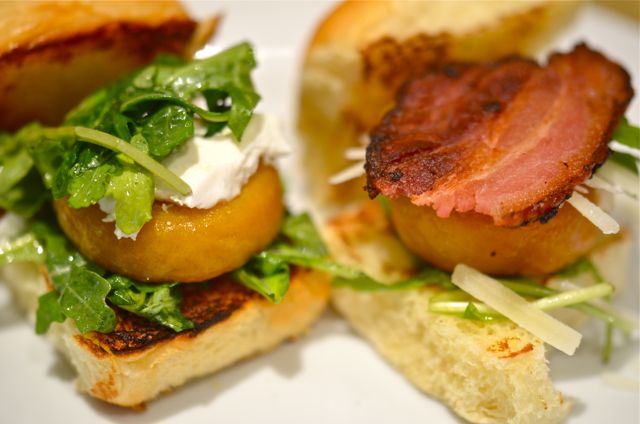
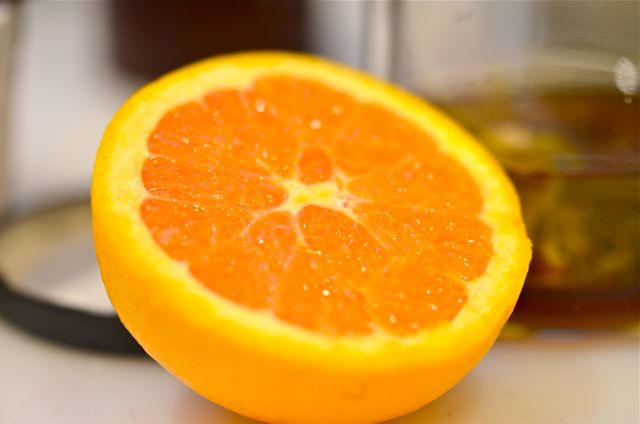
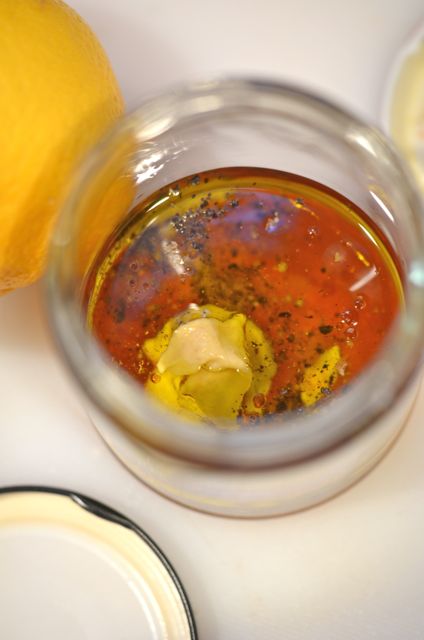
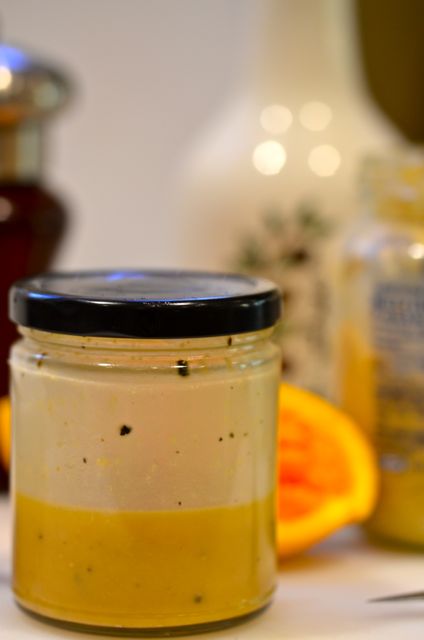
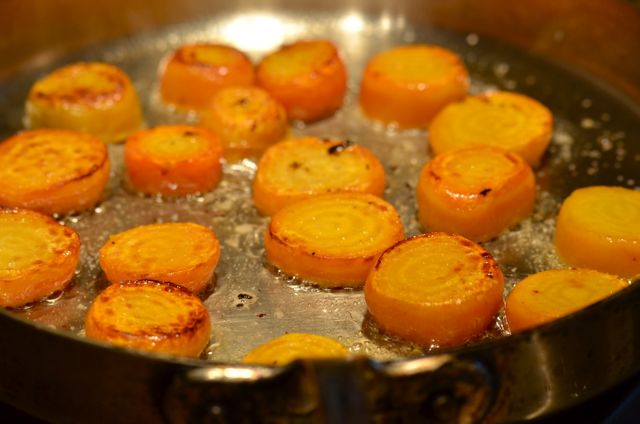 Once you roast and skin the beets, making the rest of the dish is easy. Make a quick vinaigrette with some orange juice and zest (oranges and beets are a great mix) and dress some bitter greens like arugula. Then season and sear the beets for a minute or two on each side. Then lightly grill or toast the buns. You assemble the sliders with a bed of the dressed greens, then add the beets, a little goat cheese, more greens and the top of the bun. Most people can easily eat 2 or 3 of these. And if you want to add even more flavor, a little bacon and some grated pecorino add some umami and salt flavors to the sweetness of the beets. Either way, it is hard to go wrong.