House-Smoked Almonds.

California Salad.
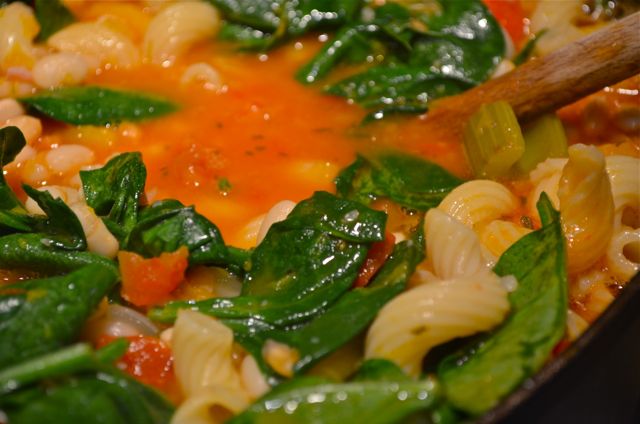
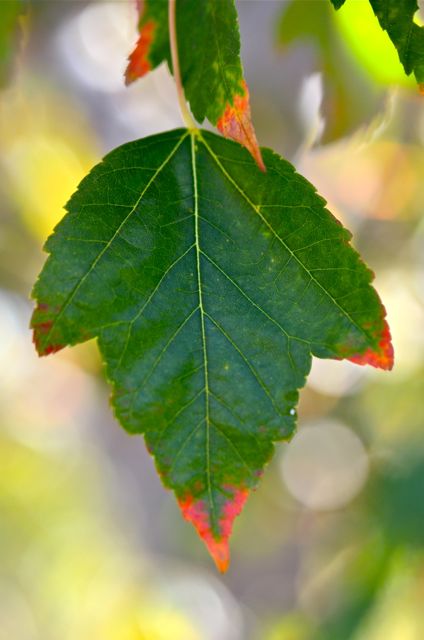
Summer is drawing to a close here at the farm. Not so much the weather, it will be warm and sunny for a while, but the kids are returning to school and things start to get busy again. We would like to say that without the rest of the year we wouldn’t enjoy summer as much, but that is just a lie. We like our “slow” time with the kids, friends and family. It doesn’t ever get old. But such is life…the rest of the year arrives whether we like it or not.
 Meanwhile, we do have a few more summer cooking projects to tackle and have worked hard to fit them in. The first was trying sous-vide, deep-fried, all-belly porchetta from j.Kenji Lopez-Alt at Serious Eats (recipe here). It was simply AWESOME, but so rich we will save it for special occasions. Sad to say, no photos, there was a lot going on and when we deep fry we prefer not to be distracted by taking pictures (it’s that hot oil and fire thing). But now that we made the dish, you may see a post for this recipe around the holidays.

 The other, easier, project was smoking our own almonds for snacking and adding to salads. This is something that is just as awesome, even if it seems a bit more umm…
normal pedestrian. Smoking your own almonds over fruit woods (with just a touch of hickory) gives you a light smoke flavor, with clear fruity notes that takes the almonds to another level. Finished with a touch of fine salt and olive oil, you have an almost perfect snack with multiple flavors and a delightful crunchy texture. And these are nothing like the heavy salt/fake smoked almonds you buy in a can. These are better in every way. Hard. To. Stop. Eating. Them….Must. Stop. Eating. Them….. 😉
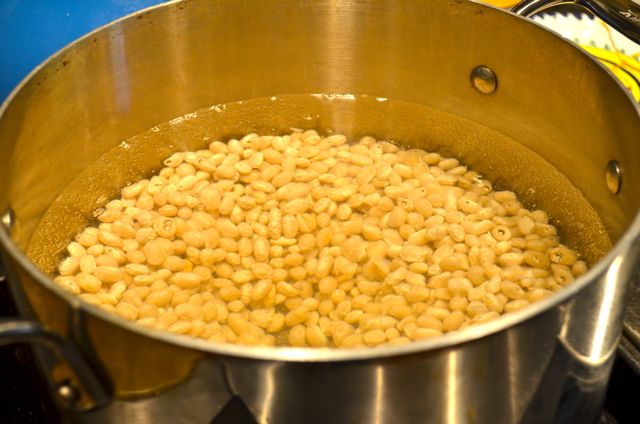
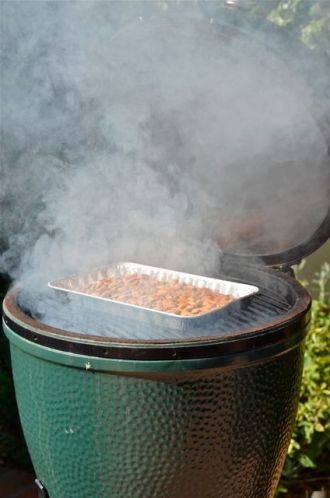
 And smoking your own almonds is incredibly easy, it just takes time and a bit of gear. For the gear you need a stove top or outdoor smoker, but any rig you have for smoking meat will work. You also need a cheap, disposable aluminum pan with holes poked in it to hold the almonds but still let smoke through. For wood, we heavily suggest a mix of 90% fruit wood (apple or cherry) and 10% hickory. The fruit wood is sweeter and the touch of hickory gives that slight “bacony” flavor without overwhelming the almonds.Then smoke the almonds at 225 degrees F for 30 to 120 minutes, depending on your taste (and you can taste during smoking). We went about 80 minutes and thought the flavor had good balance. One note is that the smoke favor will strengthen a bit as the almonds cool, so we suggest you take the almonds out just before you think they have enough smoke flavor.
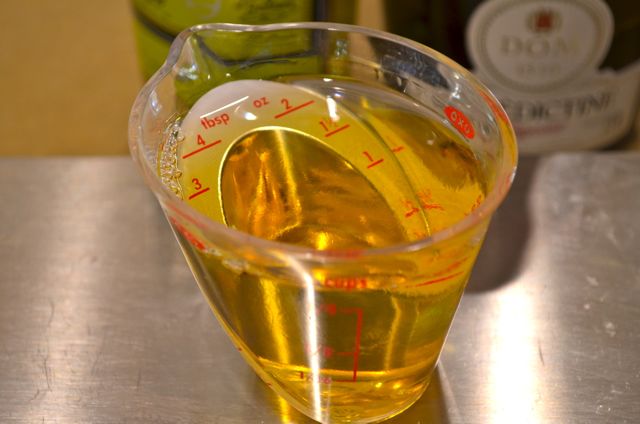
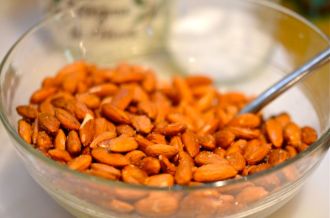
 While the almonds were warm, we added a touch of fine salt and some olive oil just to coat the nuts. We went about 1 teaspoon of salt and 2 teaspoons of oil to coat 1 pound of nuts, but we suggest you slowly mix and taste as you go, it is all part of the fun. You could add other seasonings or even a touch of citrus zest, if you like. Then let the almonds cool and have at them.
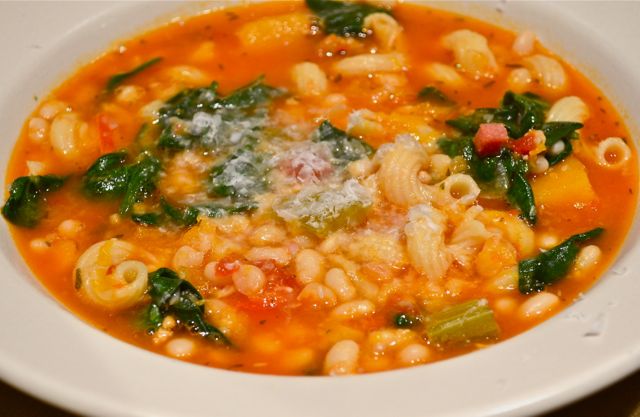
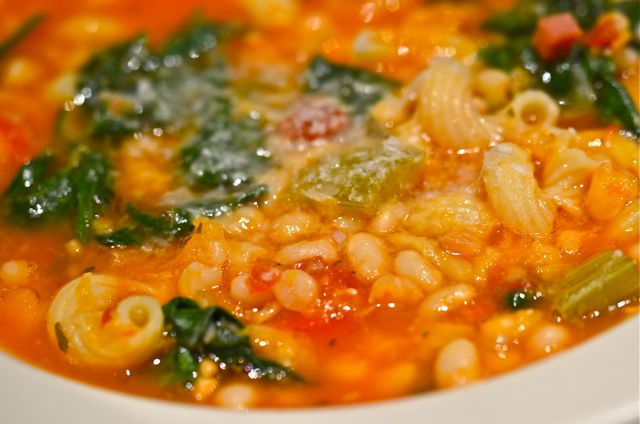
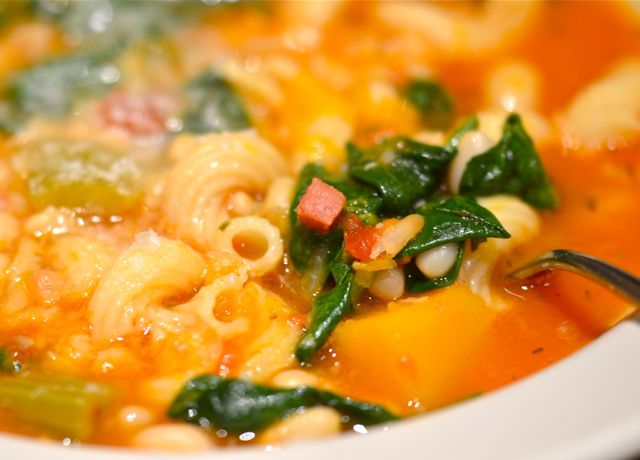
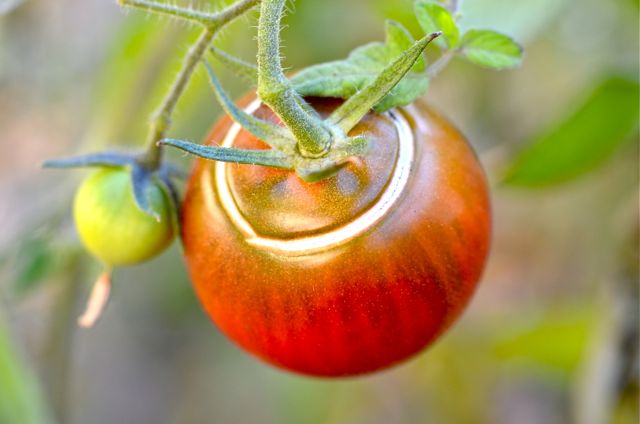
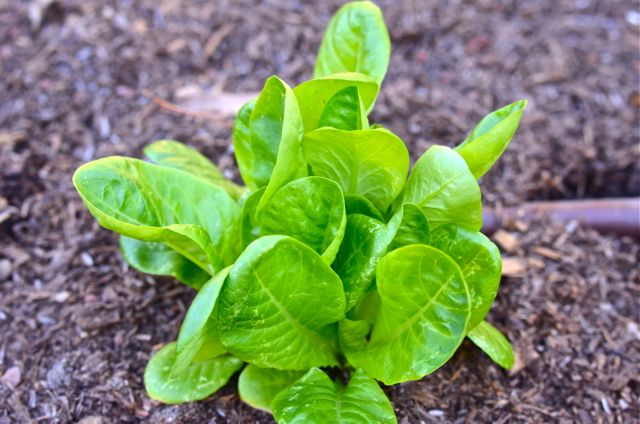
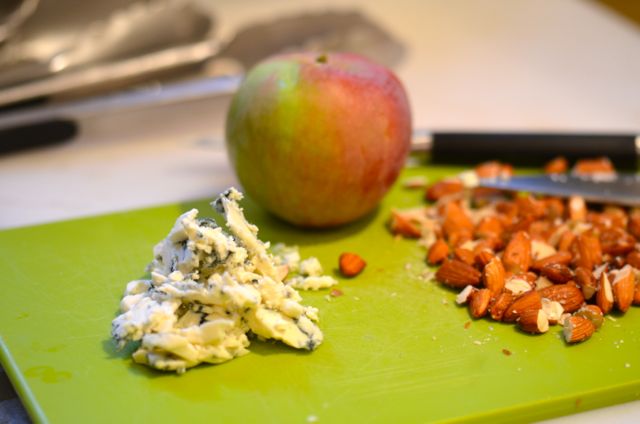
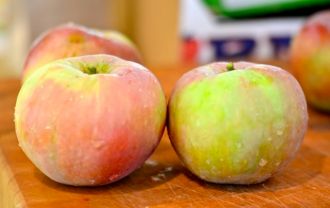
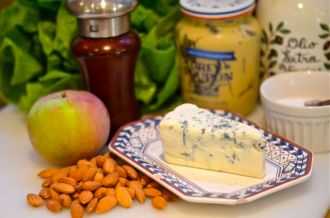
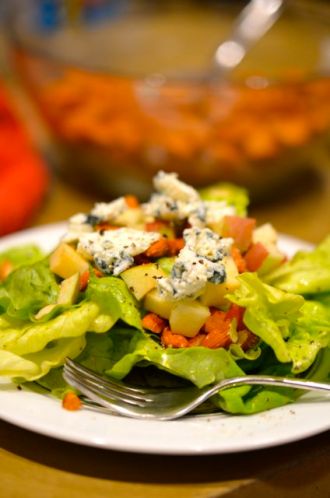
 How to serve the almonds? As a snack is the obvious choice, but smoked almonds truly sing in salads. The sweet, salty, smoky and crunchy notes of the almonds bring almost any greens to life. We like a simple salad of sweet greens, chopped smoked almonds, diced apples and blue cheese with a simple vinaigrette. And since we have both Macintosh and Gravenstein apples ready in the orchard, we got to use our own apples in the salad. We made a “California-grown” theme of it and used local greens (we ate all of ours from the garden already) and blue cheese (Point Reyes Blue) along with the apples and almonds. Delightful, and it could almost compete with the porchetta…almost. But it was a good complement, and we will certainly enjoy this salad more often.
 House Smoked Almonds:
Notes Before You Start:
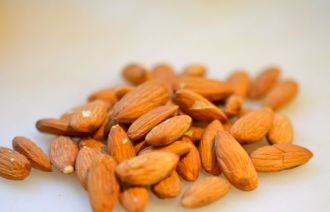
- You want to smoke raw, unsalted almonds if you have access to them. But you can smoke roasted and salted almonds, just smoke for less time and do not add much seasoning.
- You can experiment with other woods like oak for smoking, but almost all resources suggest using mostly fruit woods to keep the smoke from smothering the sweet almond flavor.
What You Get: The best almonds you’ve ever had.
What You Need: An indoor or outdoor smoking setup. A cheap aluminum pan.
How Long? 2-3 hours, with 20 minutes of active time. Weekend dish, but the almonds keep for a while and can be enjoyed any time.
Ingredients:
- 1 pound raw, unsalted almonds
- Fine salt
- Olive oil
- Fruit wood and hickory chips or chunks, for smoking
Assemble:
- Soak your wood chips for at least 30 minutes. Set up your smoker to smoke at 225 degrees. Add the wood chips.
- Take a medium aluminum pan and poke holes in the bottom. Place the almonds in the pan and then put the pan in the smoker. Smoke the almonds for 30 to 120 minutes, tasting after 30 minutes. Remove the almonds from the smoker when you get to the desired smoke flavor.
- While still warm, place the almonds in a bowl and slowly add the oil and salt, mixing and tasting as you go. When you reach the desired level of salt let the almonds cool and serve.
California Salad:
Ingredients:
(Serves 6-8 as a side salad)
Salad:
- 2 heads sweet green lettuce like green-leaf, mache or butter lettuce
- 1 cup chopped sweet / tart apples like Macintosh
- 1/2 cup chopped house-smoked almonds (recipe above)
- 1/4 cup blue cheese, crumbled
- Kosher salt and black pepper, to taste
Vinaigrette:
- 2 tablespoons olive oil
- 2 teaspoons red wine or sherry vinegar
- 1 teaspoon Dijon mustard
- Kosher salt and black pepper, to taste
Assemble:
- For the vinaigrette, combine all ingredients in a medium bowl and whisk until combined. Taste and adjust oil, vinegar and seasoning. Set aside.
- Wash the greens and make sure they are completely dry. Tear the greens into small pieces and them place in a large salad bowl. Dress the greens with half of the vinaigrette and add more as needed. Season with salt and pepper.
- To finish the salad, place the dressed greens on plates and top with a mix of the almonds, apples and blue cheese. Serve.

 So while we are sharing this dish, we will say up front that it may or may not be worth the work (it depends on how much you like mushrooms). But we will share the recipe because one of the major components of the dish really did sing, and we will use it again. That part is porcini mushroom stock. With Thanksgiving coming up, we will use this stock for a number of dishes- and they will rock. Someone is bound to say that “this gravy goes to eleven”….;-)
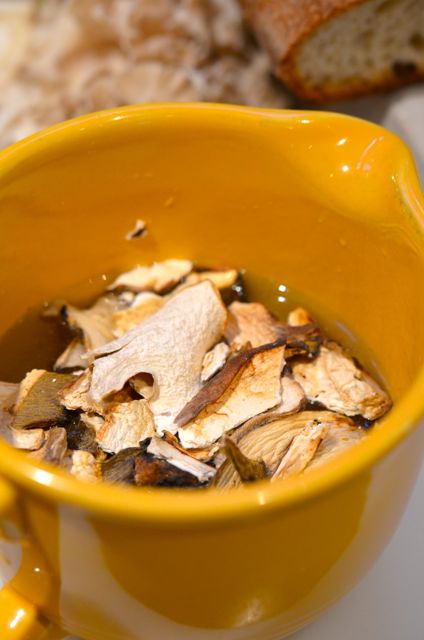
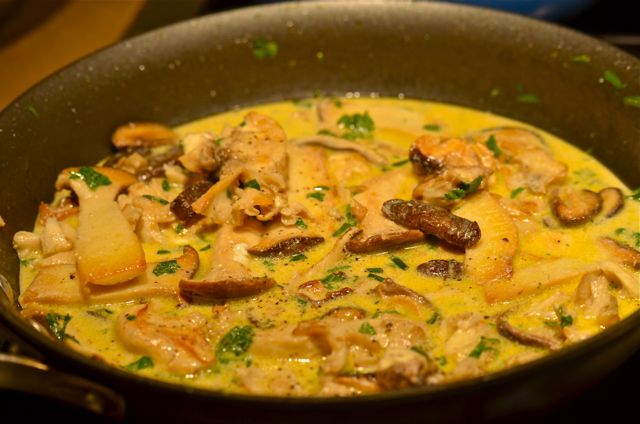
 And the porcini stock did help with this adaptation of a Yotam Ottolenghi recipe. Basically a deconstructed / modernized Stroganoff, this dish combines browned mushrooms, garlicky croutons and a sauce of porcini stock and sour cream. Topped with a poached or fried duck egg (we like to fry the eggs, your choice), you get a rich, flavorful dish with a range of textures. Good, but a bit of a fuss for what ends up in the bowl.
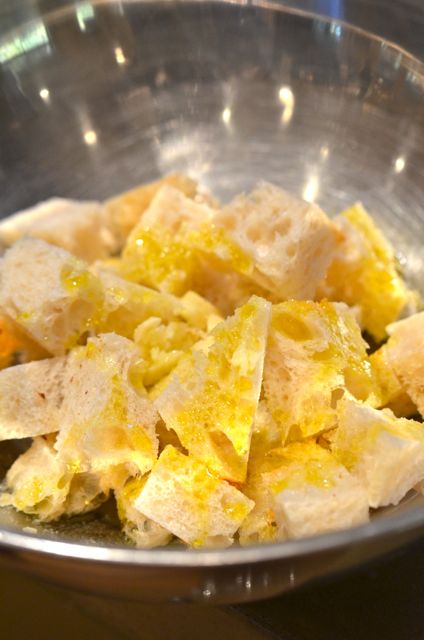
 The fuss here is that you have to soak dried porcini for the stock, then make your own croutons (good but 15 minutes), brown the mushrooms in batches (better browning, but a pain in the a**), make and reduce the porcini stock, fry the eggs, finish the sauce and serve. A simple dish made not so simple- Ottolenghi does this to you sometimes. And sometimes it’s worth it and sometimes…..not so much. Such is life.

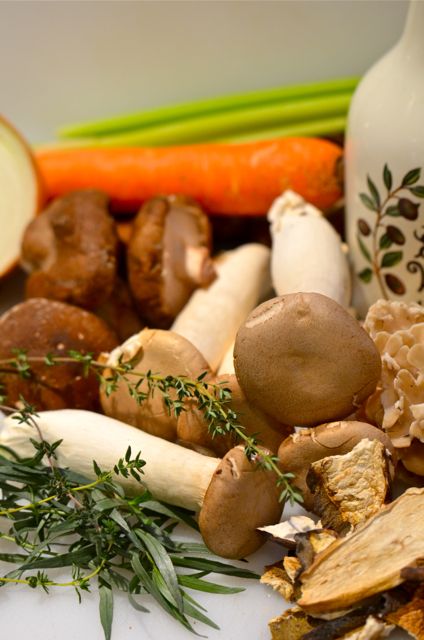
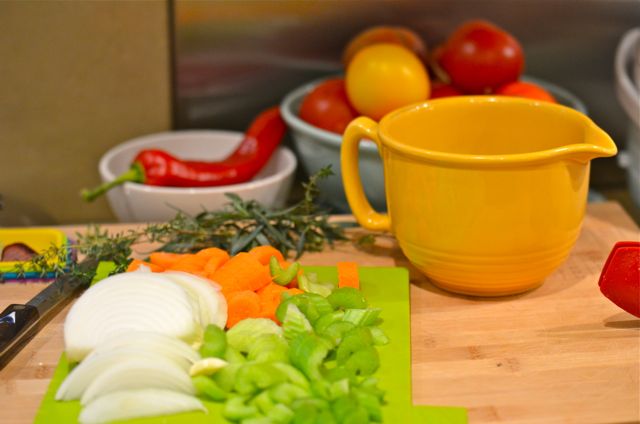
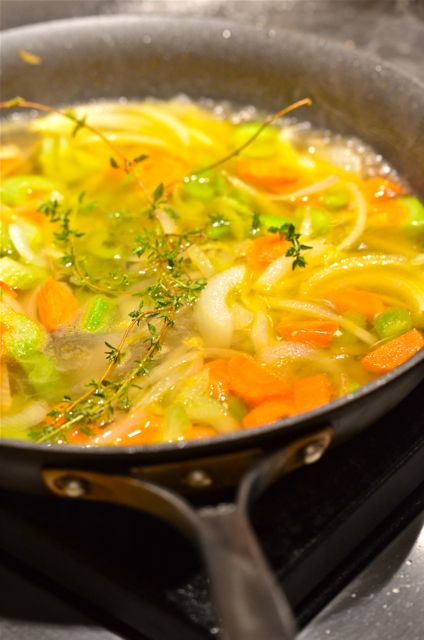
 But we did get the Porcini stock, and that made everything worthwhile. All you do is soak 1/2 ounce of dried porcini in a cup of hot water for 30 minutes, strain the liquid (discard the porcini), add some water, mirepoix, thyme and a bit of seasoning. Simmer for about 20 minutes and then adjust seasoning. What you get is a balanced, sweet and flavorful stock with clear umami notes. This stuff beats any veggie stock and is better than most chicken or beef stock. And it takes a lot less time to make than most homemade stock.