 While we love cooking with the season, winter can be a bit tough, even in California. Lots of produce is available, but some of it has moderate appeal (we love kale, turnips and broccoli, but not every day) and some is just confounding. We love our pomegranates, but they are hard to eat and you can only sprinkle the seeds on so many salads. The citrus is a bright spot, but somehow tends to end up in desserts and cocktails, and after lemon chicken how many savory dishes are there?. And then we have Persimmons. These bright orange, beautiful fruits light up the farmers market, but what do you do with them?
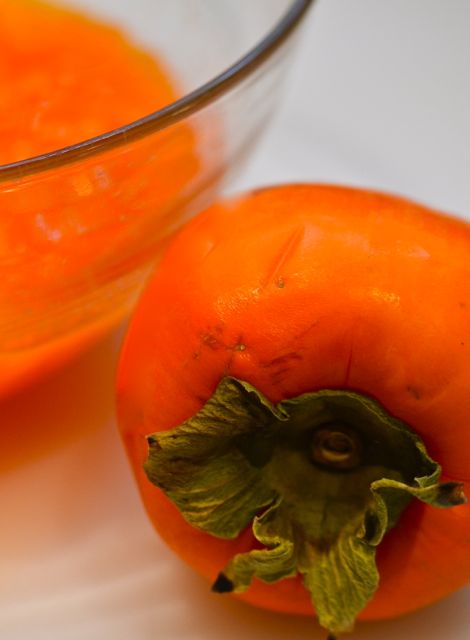
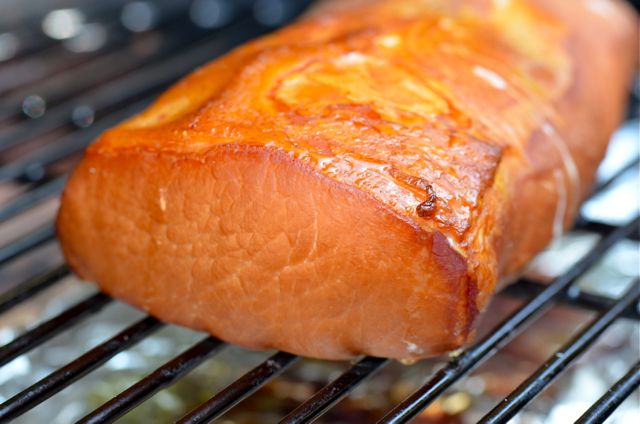
 For Fuyu persimmons, the round ones, the answer is easy. Treat them like apples and place raw slices into salads or serve with cheese or charcuterie. But what about the heart-shaped Hachiya persimmons, what to do with them? It turns out you need to let them ripen almost to the point of
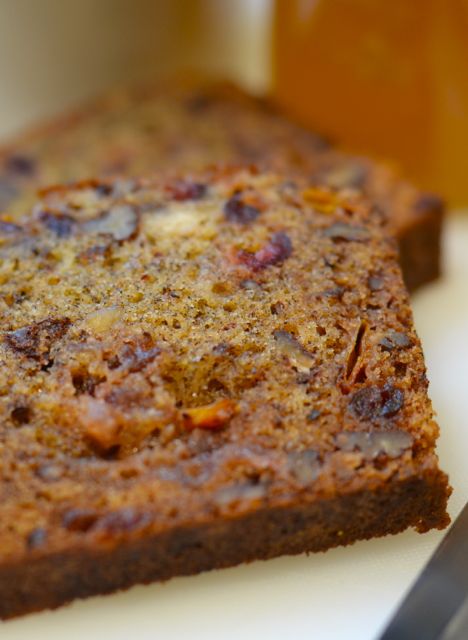
 rot over-ripeness and then scoop out the pulp. The pulp will be very sweet with pumpkin and citrus notes. One of the more popular uses of Hachiya pulp is to freeze it and serve it like sorbet, but the other primary use is in baking. And this is where we get to this amazing sweet bread. And we don’t mean “amazing way to get rid of persimmons” we simply mean “amazing”. This bread is one of the best surprises we’ve had here at Putney Farm.

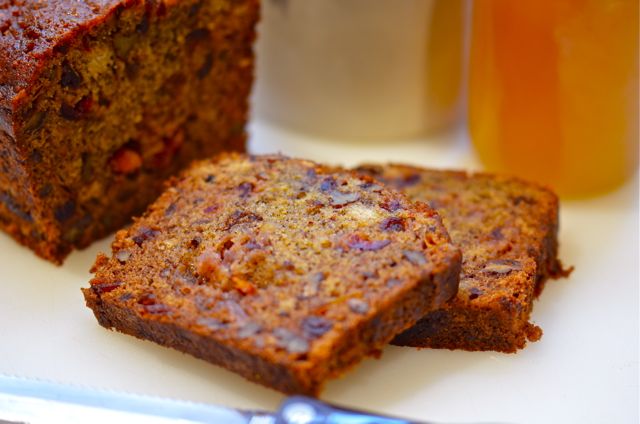
 In some ways, we shouldn’t be surprised. The recipe comes from David Lebovitz, one of the best pasty chefs and food writers in the world, and is adapted from a James Beard recipe. Yep, James Beard. The original recipe comes for his book “Beard on Bread“. So we are working from some very solid source materials. Ironically, the recipe itself is a bit “squishy”. You are encouraged to add or subtract sugar to your taste, add some booze and play with different dried fruit and nut combinations. We even use some white whole wheat flour with good results. But the unifying factor is the Hachiya persimmon pulp. It gives a bright pumpkin note and keeps this bread incredibly sweet and moist. With the fruit, nuts and spice this bread has lovely texture and flavor. You can eat it at breakfast, or as a daytime snack or even dessert.
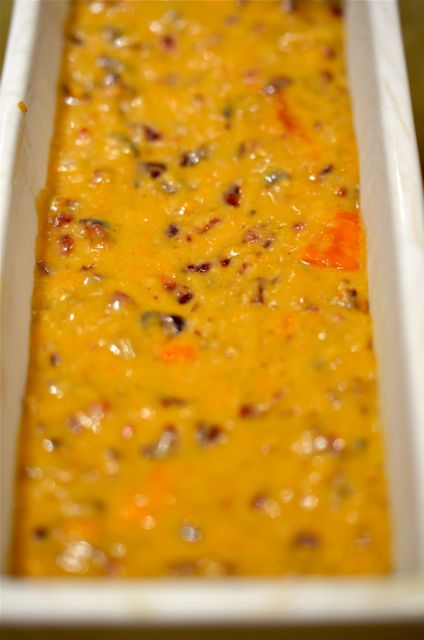
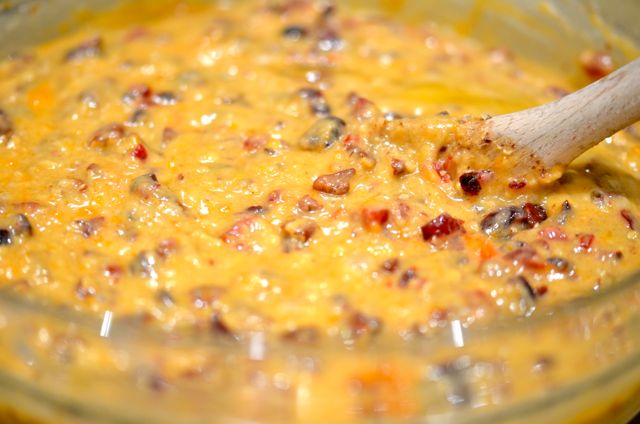
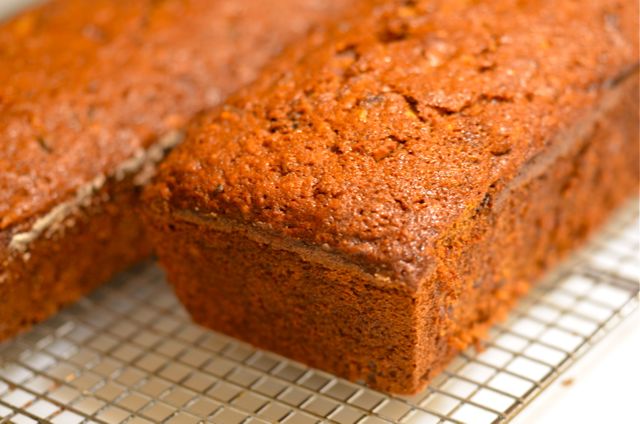 And making the bread is a straightforward operation. First you must buy and then ripen some Hachiya persimmons. Leave them out and wait. They are ripe when they feel like overripe tomatoes about to burst (Lebovitz describes it as “water balloon about to burst”). You may also see discoloration on the skin, but that is OK. When the persimmons are ripe, spoon out the pulp and purée in a blender, food processor of food mill. Then you are ready to go. And making the rest of the bread is easy. Chop some nuts and dried fruit, we use pecans and dried cranberries, but walnuts, raisins, apricots or dates will work. Then make a standard sweet bread. Combine the dry ingredients, then add the wet ingredients, make a batter. Butter some loaf plans, then pour in the batter. Bake for an hour at 350 (the kitchen will smell great), cool and serve. And enjoy, this is the good stuff. So when winter produce gets you down, buy a few Hachiya persimmons, let them ripen and make this bread. It will be a bright spot in winter.


